[Workshop]
A Day in the Workshop: How a Dining Table Is Built From Tree to Table
From the standing tree on a South West block to the finished top under a low lamp — the twenty decisions most people never see, told the way I'd tell a visitor leaning on the bench.

A dining table starts as a tree. That sounds obvious. But most people have never thought about the twenty decisions between the tree and the finished piece.
We've been making dining tables on Blythe Rd since 1988. Some of them have gone to houses ten minutes away. Some have gone to Singapore and London. Before any of them got loaded onto a truck, they sat in this workshop for somewhere between four months and four years, depending on the timber and the design. What follows is what actually happens in that time. Not the marketing version. The real one.
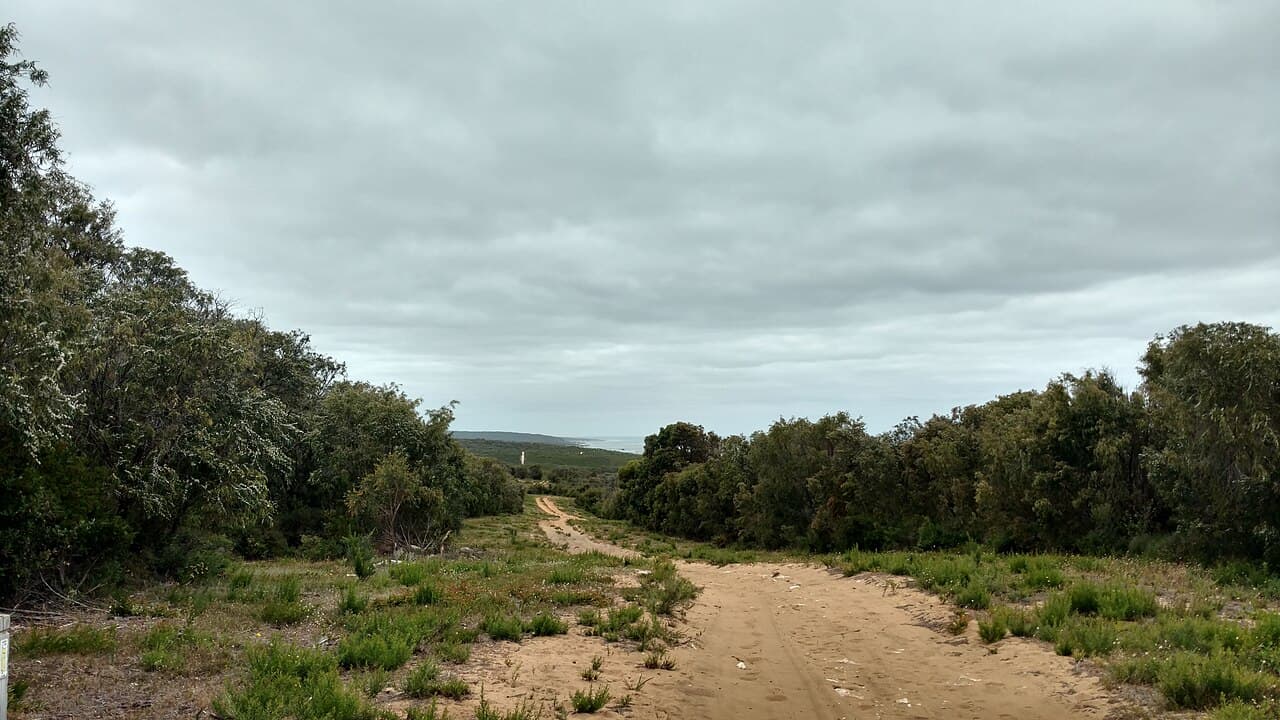
Photo: Lasthib, CC BY-SA 4.0 · via Wikimedia Commons
1. The tree
I don't fell my own trees. The jarrah and marri I use comes through licensed millers in the South West, most of them within an hour's drive of the workshop. Some of it is regrowth from managed coupes. Some of it is recycled: old wharf timbers, demolished sheds, jarrah salvaged from buildings that were put up before anyone thought to worry about how rare this wood would become.
I look at the log before it's milled when I can. You can read a lot off the end grain: the heart, the sapwood, the way the rings have grown in dry years and wet years. A tree that has had to fight for water grows tighter, denser. That timber will hold an edge better and finish darker.
how jarrah and marri actually differ
2. Milling
The log gets quarter-sawn or back-sawn depending on what I want from it. For a dining top, I usually want quarter-sawn or close to it. The grain runs more stably across the width, which means less movement when the seasons change. For a live-edge slab, I take what the tree gives me.
A good miller knows my standing instructions: thick. I take boards at 65 millimetres minimum. I'd rather have too much timber and lose it to drying than be caught short.
3. Air drying
This is the part nobody wants to hear about. A freshly milled jarrah board will lose about a third of its weight as it dries. If you rush it, it cracks, it cups, it twists. So you stack it carefully, sticks between every board, weight on top, ends sealed against fast moisture loss, and you wait.
For jarrah, that's about a year per inch of thickness. A 65mm board is two and a half years in the air before I'll move it inside. Marri sometimes goes faster, sometimes slower; it's a more emotional timber.
The stacks sit under a high-roofed shed up the hill from the workshop. Yallingup air is mild and damp enough that the drying is gentle. That matters.
A freshly milled jarrah board will lose about a third of its weight as it dries. If you rush it, it cracks, it cups, it twists. So you stack it carefully and you wait.
4. Kiln finishing
Once the boards are down to roughly 15 to 18 per cent moisture from air drying, I send batches through a low-temperature kiln to bring them down to 10 to 12 per cent, which is about what a piece of furniture needs to settle to in a Western Australian house.
This is the step where a lot of cheap furniture is born and dies. Kiln-dry timber straight from green at high heat and you get checks and case-hardening. Surface dry, core wet, internal stress baked in. The board looks fine on the bench, then warps two years later in someone's lounge room.
I only use timber that has air-dried first. Always.
5. Conditioning in the workshop
Even after the kiln, the boards rest in the workshop for at least a month. The workshop is unheated in winter and unconditioned in summer, the same climate the timber's going to live in, more or less, if the piece stays in WA. The boards find their final shape here. Anything that's going to twist, twists now, before I cut it.
6. The design conversation
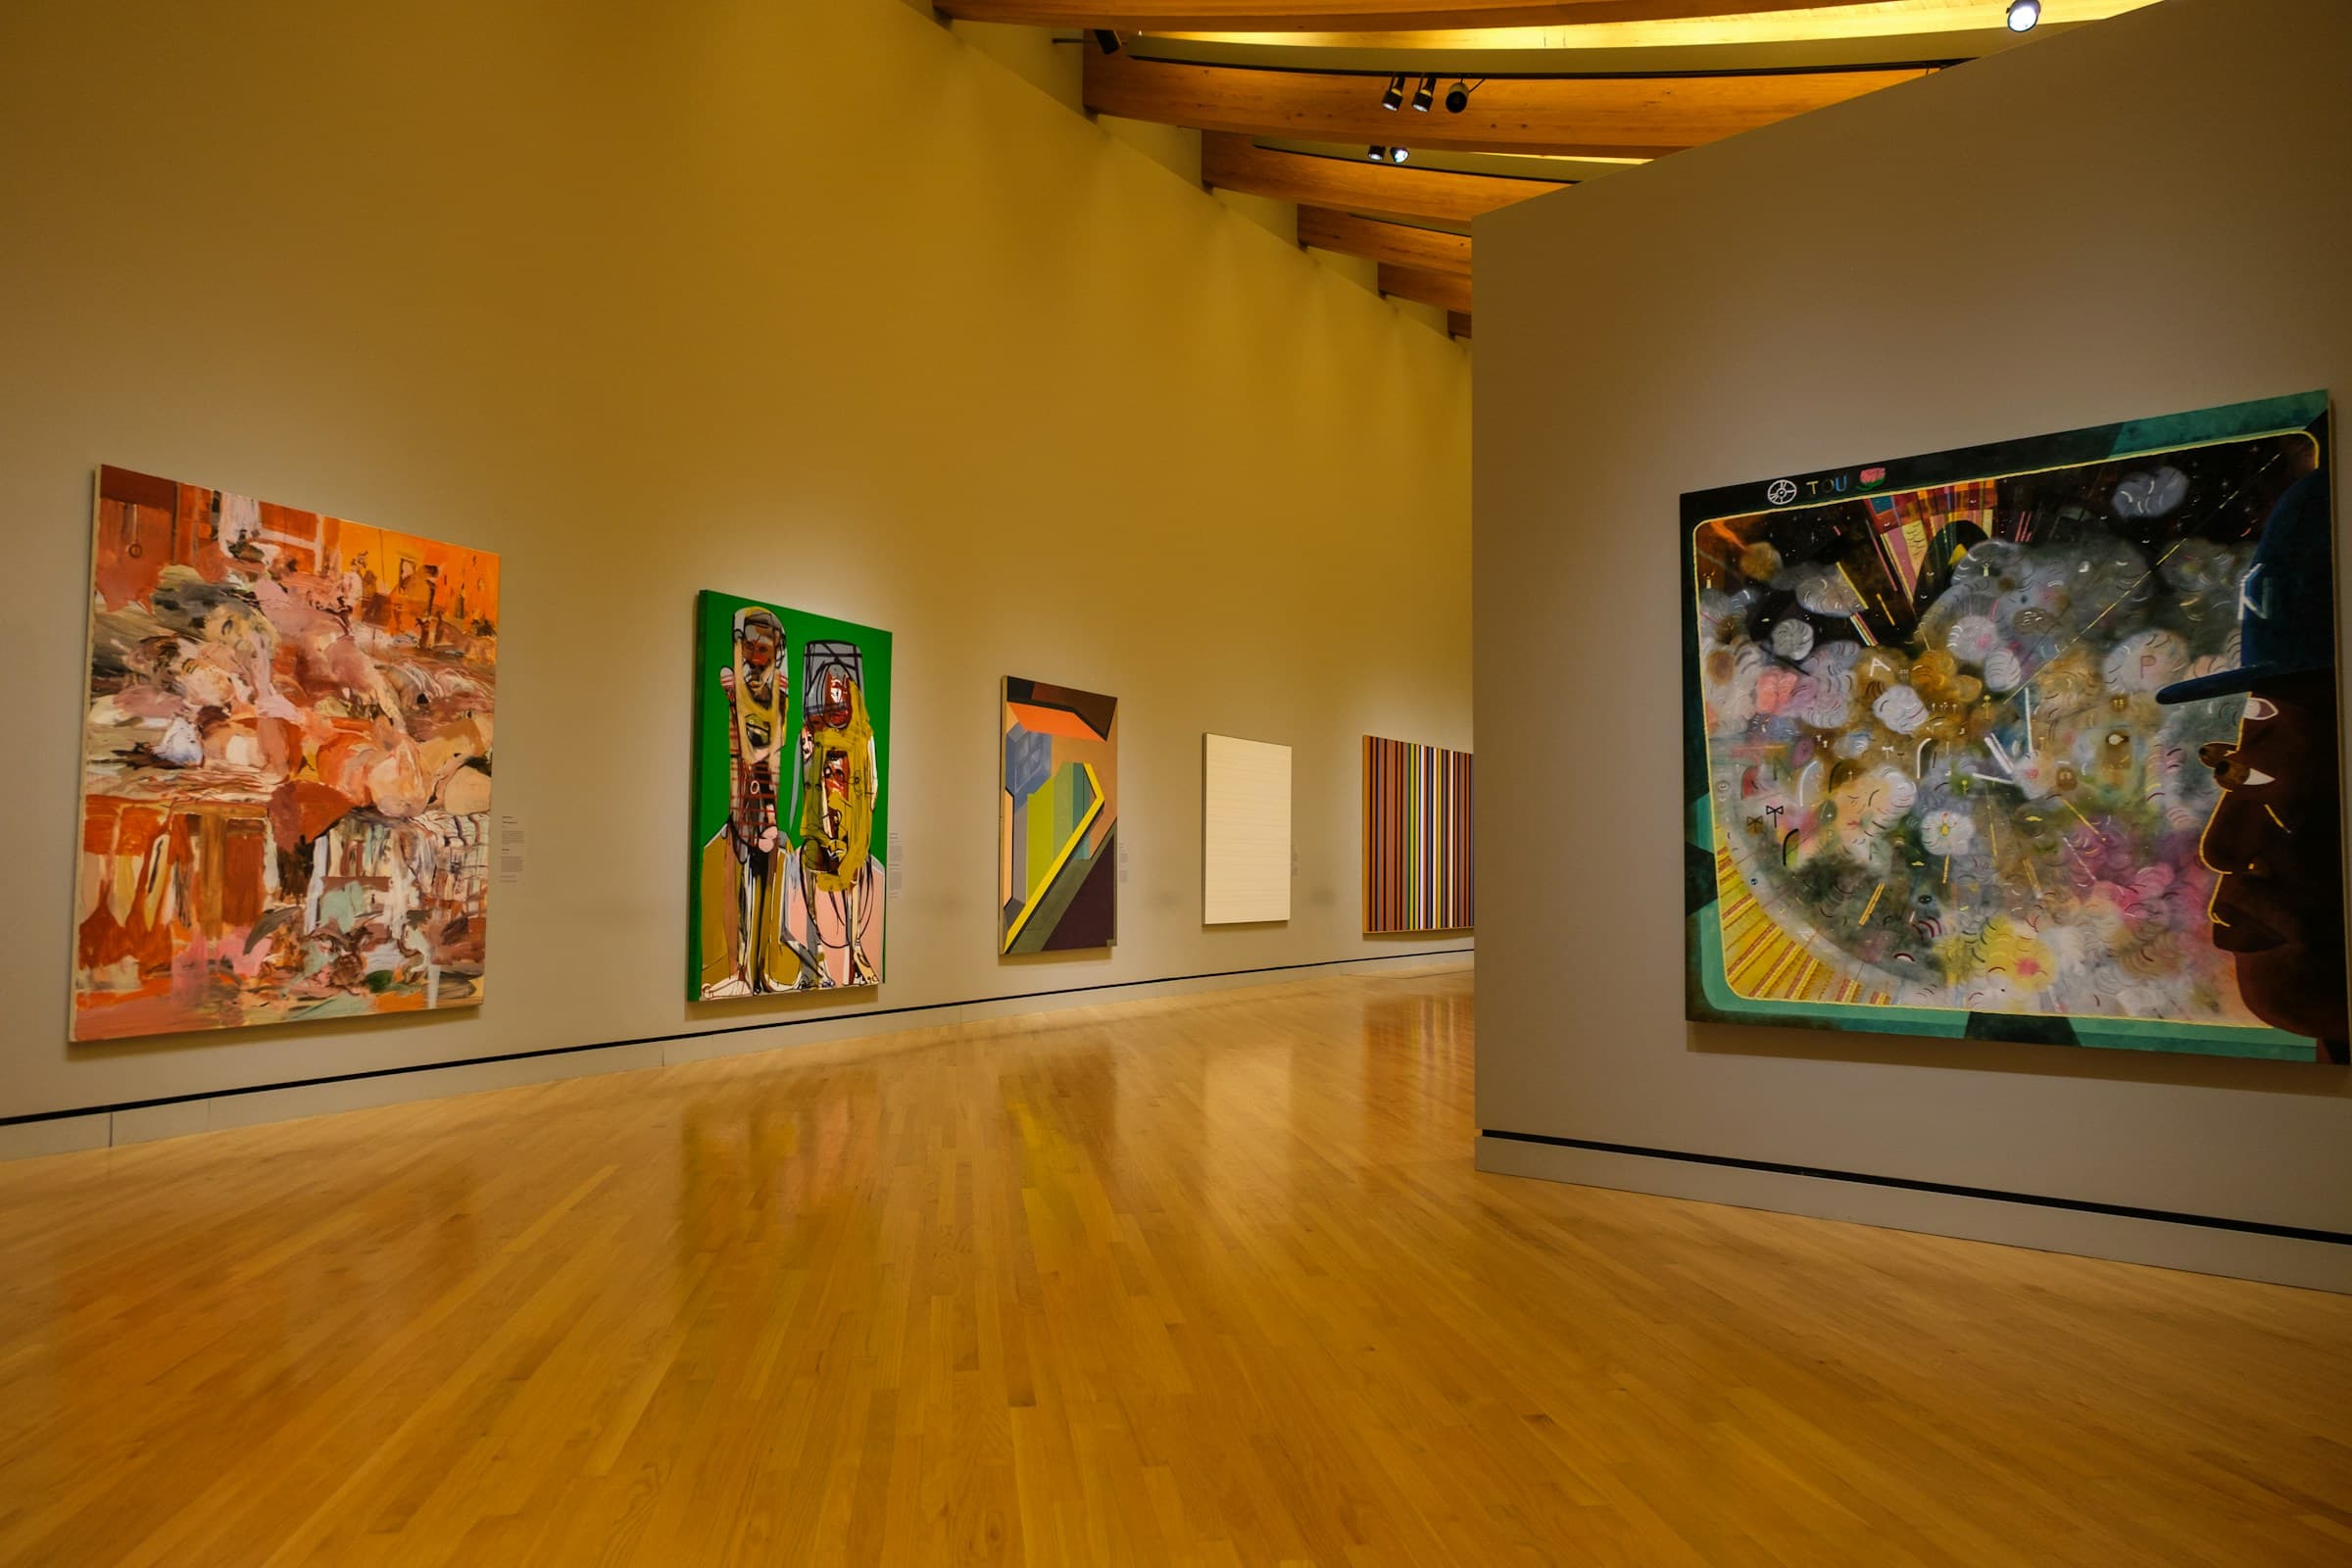
Most of my dining tables are commissions. Before I cut anything, I sit down with the client, usually in the gallery, sometimes by email if they're overseas, and we talk through what the table needs to do.
How many people. What room. What light. What chairs. Do you have kids. Do you eat at the table every night or only when family visits. Does it need to extend. What's the floor.
Then we talk about timber. Jarrah or marri or a mix. Solid top or live-edge slab. Square edges, rounded, chamfered. Trestle base, four legs, a single pedestal, the Cone form. I draw on paper. I sketch, I cross out, I sketch again. Pam usually walks in at this point and asks the thing I've forgotten to ask: what colour the rug is, or whether the client mentioned a cat. She's been doing that for forty years. I've learned to wait for it.
commissioning a dining table, step by step
If you want to sit at one of my tables before you commission your own, the gallery is open six days. The workshop viewing window is right there. You can see exactly the bench where the next one will be cut. Google Maps sometimes misdirects via Wildwood Rd. Stay on Bussell Hwy, turn at the Carbunup store, then Blythe Rd.
7. Selecting the boards
Once the design is locked, I go up the hill and pick the boards. This takes longer than you'd think. A top for a 2400mm table might need three or four boards joined edge to edge. I want them from the same tree if I can manage it, sometimes from boards I milled five years ago specifically because they had a certain figure.
I lay them out on the floor, flip them around, swap them, look at the grain meeting. A good top reads like a single piece even though it's joined. A bad top has a visible seam where two strangers met.
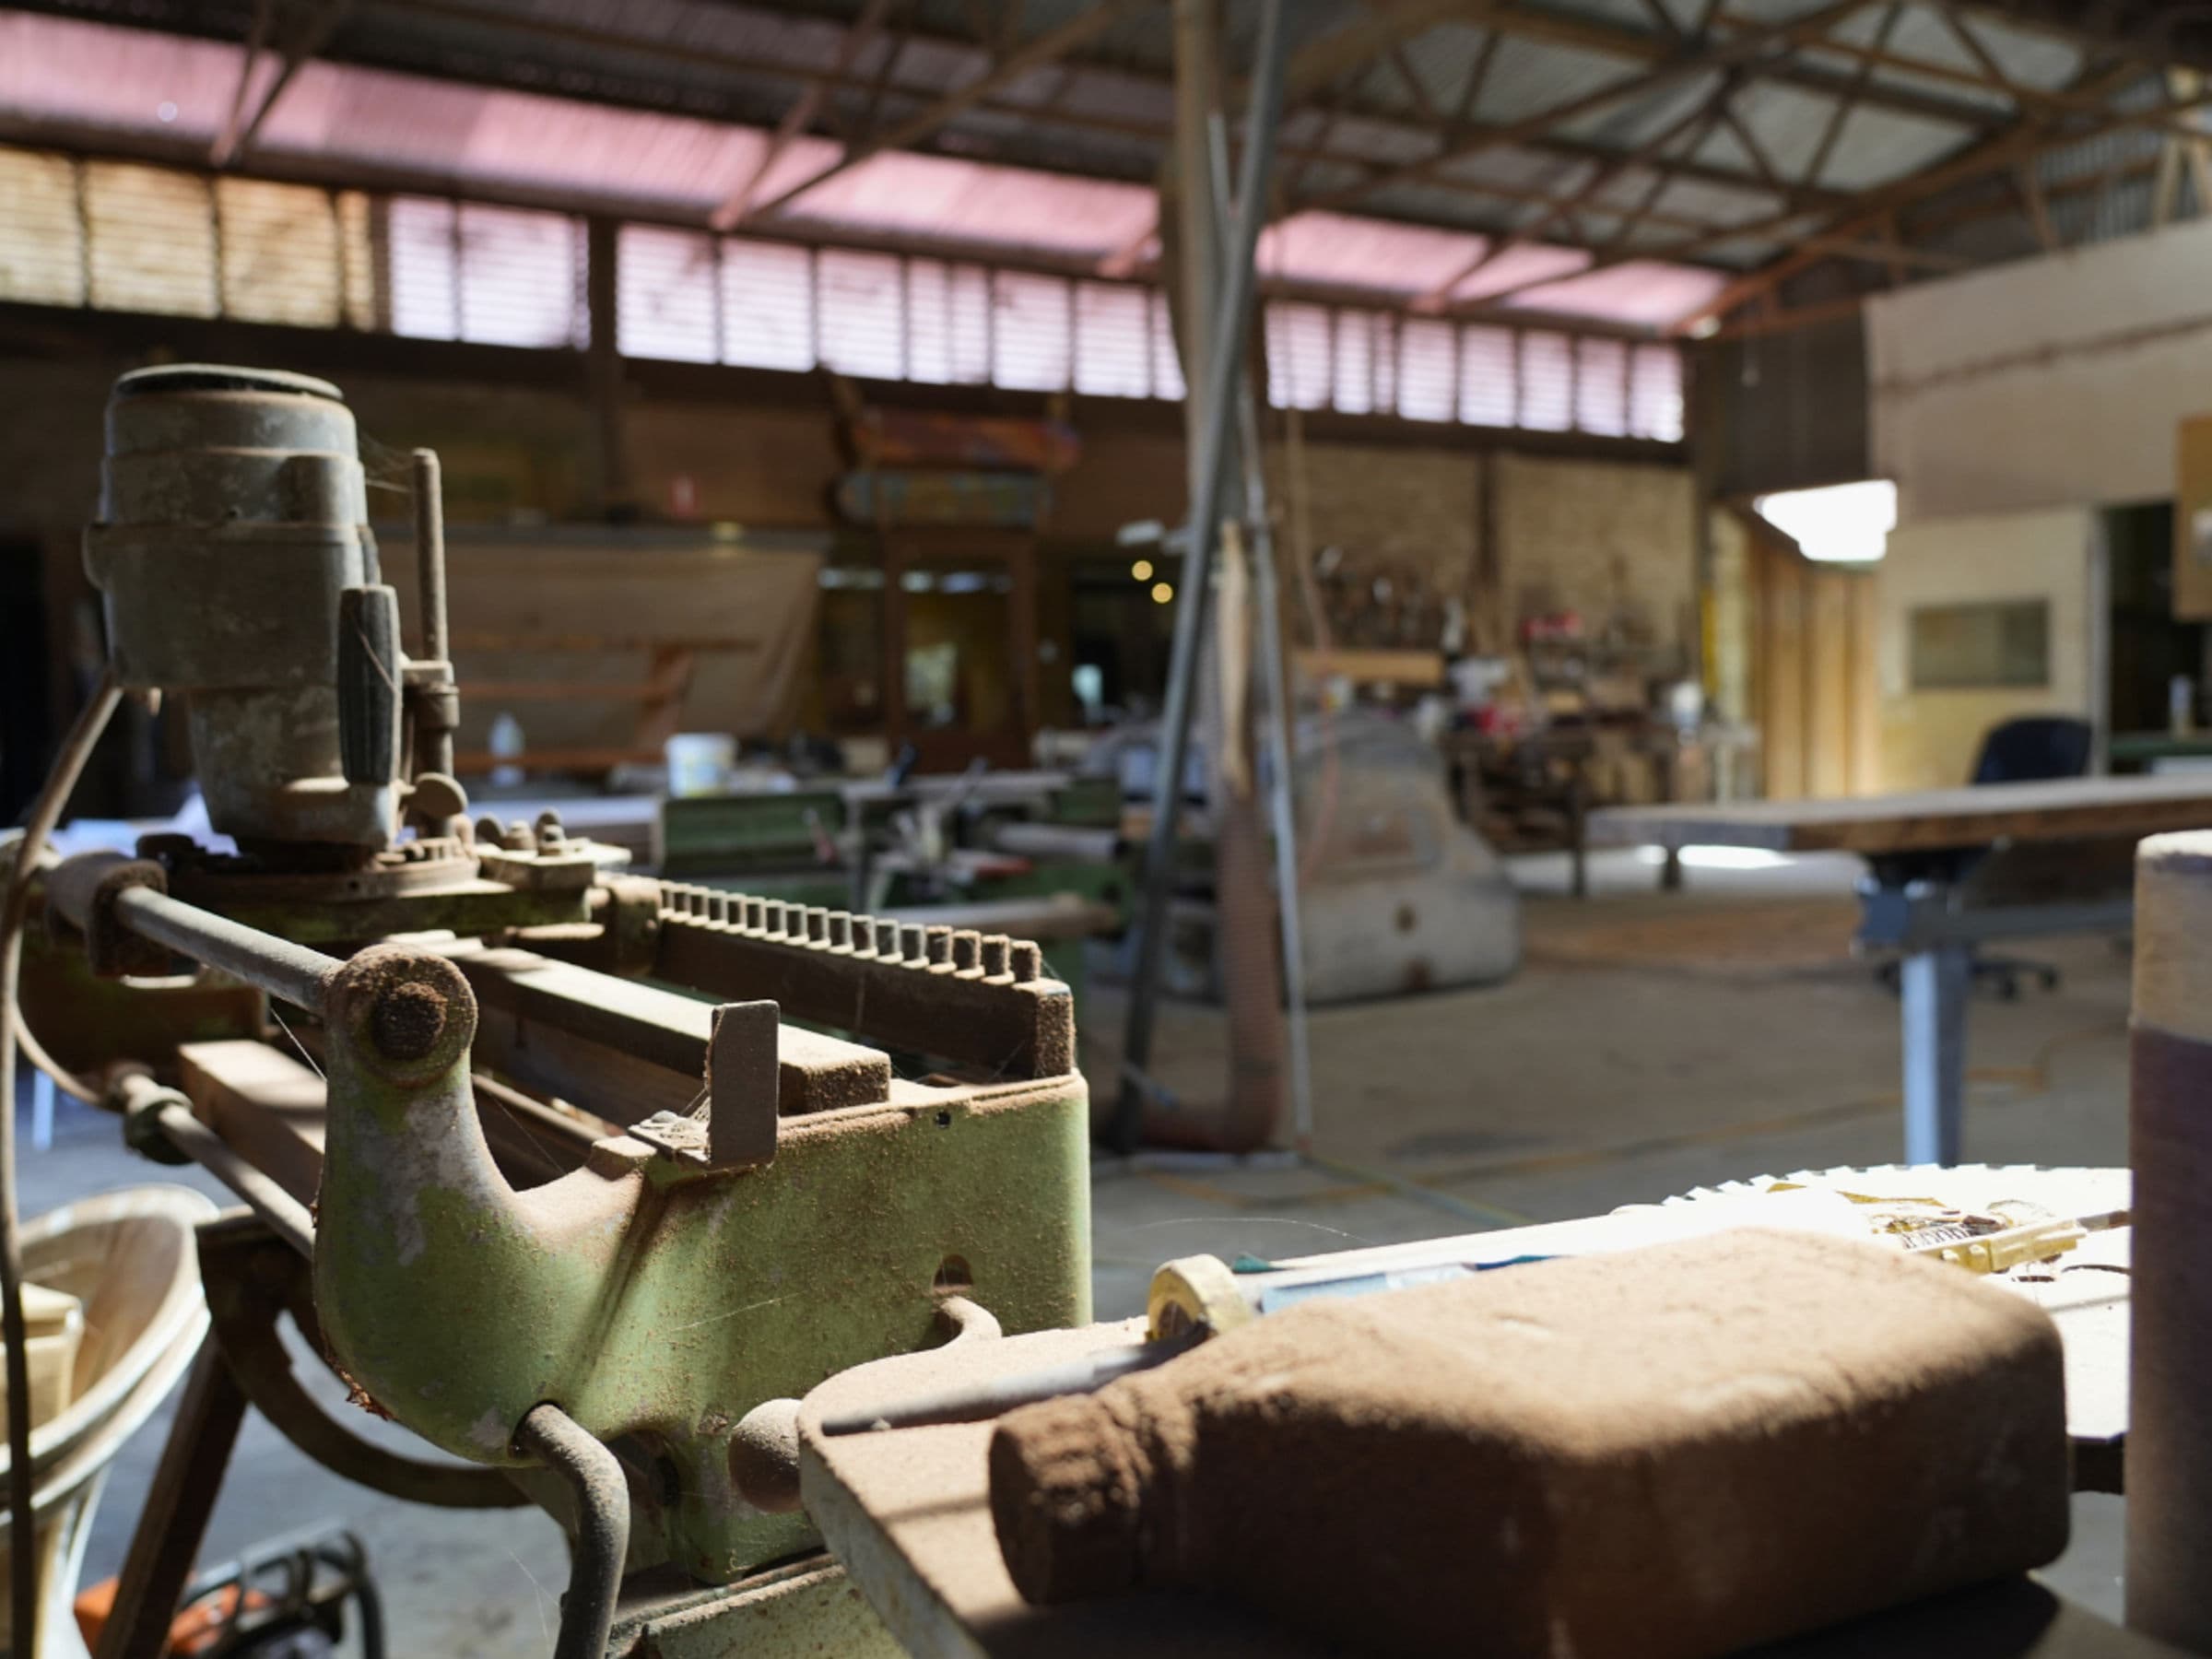
8. Dressing the boards
Each board goes through the thicknesser, then the jointer, to true the faces and edges. This is where you start to see what you've got. Plane shavings come off in long red curls if it's jarrah, golden if it's marri. The shop smells different depending on what I'm running.
I check the boards for any defects: gum veins I might want to keep, knots I want to lose, internal checking I missed at milling. Anything that's going to be visible on the finished top gets thought about now, not later.
9. Edge jointing
The boards have to meet edge to edge with a join you can barely see. I shoot the edges with a long jointer plane after the machine has done the rough work. A few passes by hand to take out any spring and get the boards mating along their full length under their own weight.
I do a dry clamp first. If I can see daylight anywhere, I plane again.
10. Glue-up
Modern glues are extraordinary. A properly glued edge join in jarrah is stronger than the wood around it. I use a urea formaldehyde for tops, which gives me enough open time to spread the glue evenly across long boards and bring everything together without panicking.
Clamps top and bottom, every 300mm, even pressure. I check across the joints with a straight edge before walking away. The top sits in the clamps for at least 24 hours. Usually longer, because there's no rush.
11. Levelling the top
Out of the clamps, the top is close to flat but not perfect. I run it through a wide thicknesser if it'll fit, or hand-plane and belt-sand if it won't. The goal is a top that's flat enough to read with a straight edge from any direction.
Hand-planing a glued-up jarrah top is a humbling activity. The grain runs three different directions across the join lines. You learn quickly to plane diagonally and listen to the wood.
12. The base
While the top is settling, I'm building the base. This is the part of the table that does most of the engineering work. It has to hold the top flat against seasonal movement, support the weight of food and elbows and the occasional toddler standing on it, and look right under the top without competing with it.
My most-requested base is the Parallel Universe: two vertical jarrah slabs joined by a horizontal stretcher, the geometry working against itself so the table can't rack. The Cone is the other one, a single tapered pedestal, more sculptural, takes more setting out.
Every base gets dry-fitted, taken apart, finished, then reassembled with the joinery glued and pinned.
13. Joinery
I use mortise and tenon for the structural joins, dominoes or biscuits where appropriate for alignment, and dovetailed sliding battens under the top to hold it flat while letting it move across its width with the seasons.
This last point matters. A solid timber top will expand and contract by 10mm or more across a 1000mm width between a dry summer and a wet winter. Screw it down hard and it cracks. Let it float on slot-fixings or sliding battens, and it lives forever. Every dining table I have ever made is built to let the top breathe.
14. Edge work
The edge of the table is one of the most underrated details in the room. A square edge looks modern and crisp but it bruises if you knock it. A rounded edge feels softer to the wrist when you're eating. A chamfer catches the light.
I do all three depending on the design. The edge gets shaped, then sanded through five grits before any finish goes on.
15. Sanding
This is the unglamorous part. A dining top gets sanded from 80 grit up to 240, sometimes 320, with every grit overlapping the last. Between grits I damp the surface with a sponge to raise the grain, let it dry, then sand back. Three or four cycles of that and the surface will stay smooth under a finish instead of going furry the first time someone wipes it down.
The shop is quiet during sanding. You can hear which area you haven't touched yet by the change in pitch when you move across the top.
16. The signature
Every piece I make gets a gum leaf inlaid into the underside. Hand-cut, set flush, just where you'd put your hand if you were lifting from below. It's been on every table I've made since the early years. If you ever buy a Streater table second-hand, that's how you check.
17. Finishing
For dining tops I use a hard wax oil or a Danish oil depending on the timber and the client's preference. Both penetrate the wood and harden inside the grain. They don't sit on top of the surface like a polyurethane, so they wear in instead of wearing off. If the top picks up a mark in twenty years' time, you can sand a patch and re-oil it without anyone being able to tell.
The first coat is generous. The wood drinks it. The second coat is lighter. Between coats, 24 hours minimum. Some tables get three coats, some four, depending on how thirsty the timber turns out to be.
18. Rest
The finished piece sits in the workshop for a week before it goes anywhere. The finish needs to cure properly. I use this time to make the matching benches or chairs if they're part of the commission, and to check the table every morning for anything I want to tweak.
This is also when I show it to Pam. She walks around it slowly, which is how I know she's looking properly. She'll run a hand along the edge, crouch to see the base from below, stand back and look at it the way a stranger would in the room it's going to. She has never once told me it was fine when she saw something I'd missed. Forty years on, I'm glad she still doesn't.
19. Delivery or shipping
Local deliveries I do myself: wrapped in moving blankets, in the back of the ute, often with help from a mate if the top's heavy. Anything beyond Perth goes to a specialist art shipper who crates the piece properly for the road or the sea. International shipping is its own conversation. I've written about how that works separately.
shipping furniture from Australia, properly
20. The decision you didn't see
The last decision isn't about the table at all. It's about whether the piece is finished. A factory says finished when the schedule says finished. I say finished when I walk past it in the morning and don't see anything I'd change.
Most days that takes longer than the schedule wants. That's the difference.
To see one of these tables coming together, the workshop viewing window is open whenever the gallery is. There's usually something on the bench. Some mornings it's a top under the planes. Some mornings it's a base being mortised. The wood smell hits you before you see anything.

Plan your visit to Yallingup.
Directions & hours →